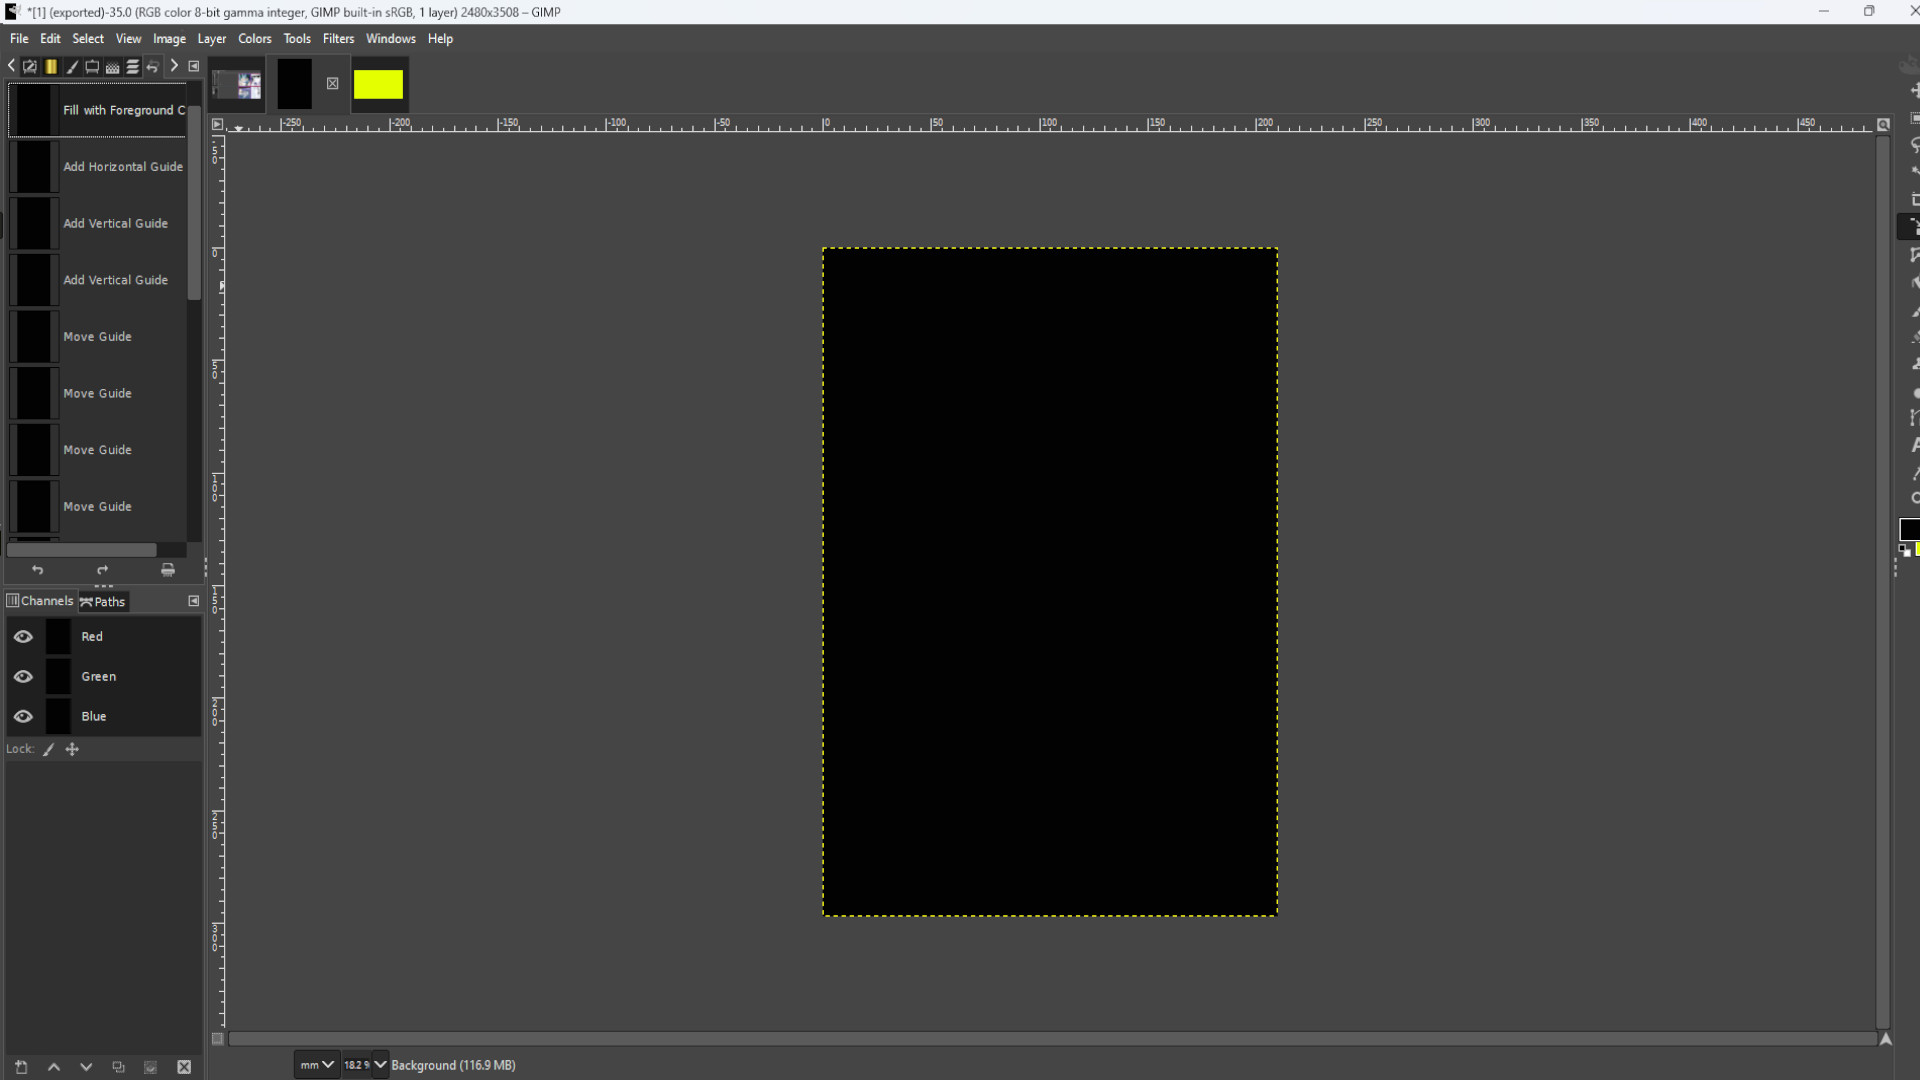
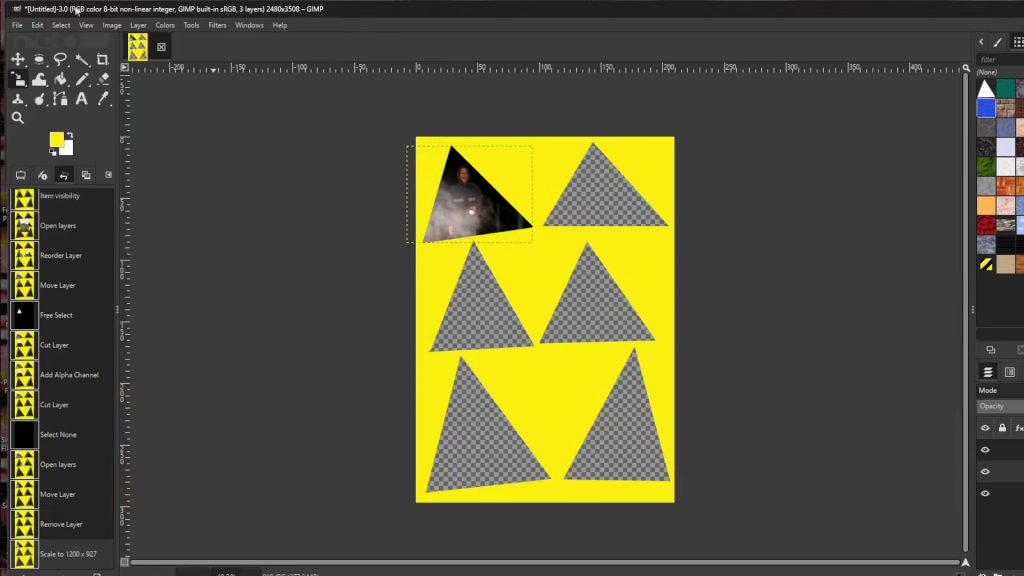
Open up Gimp and go to >>>FILE>>>NEW>>>TEMPLATE and pick the>>>A4 SIZE;
209.97 Width,
297.01 Height
in mm.
2480 Width
3508 Height
in px
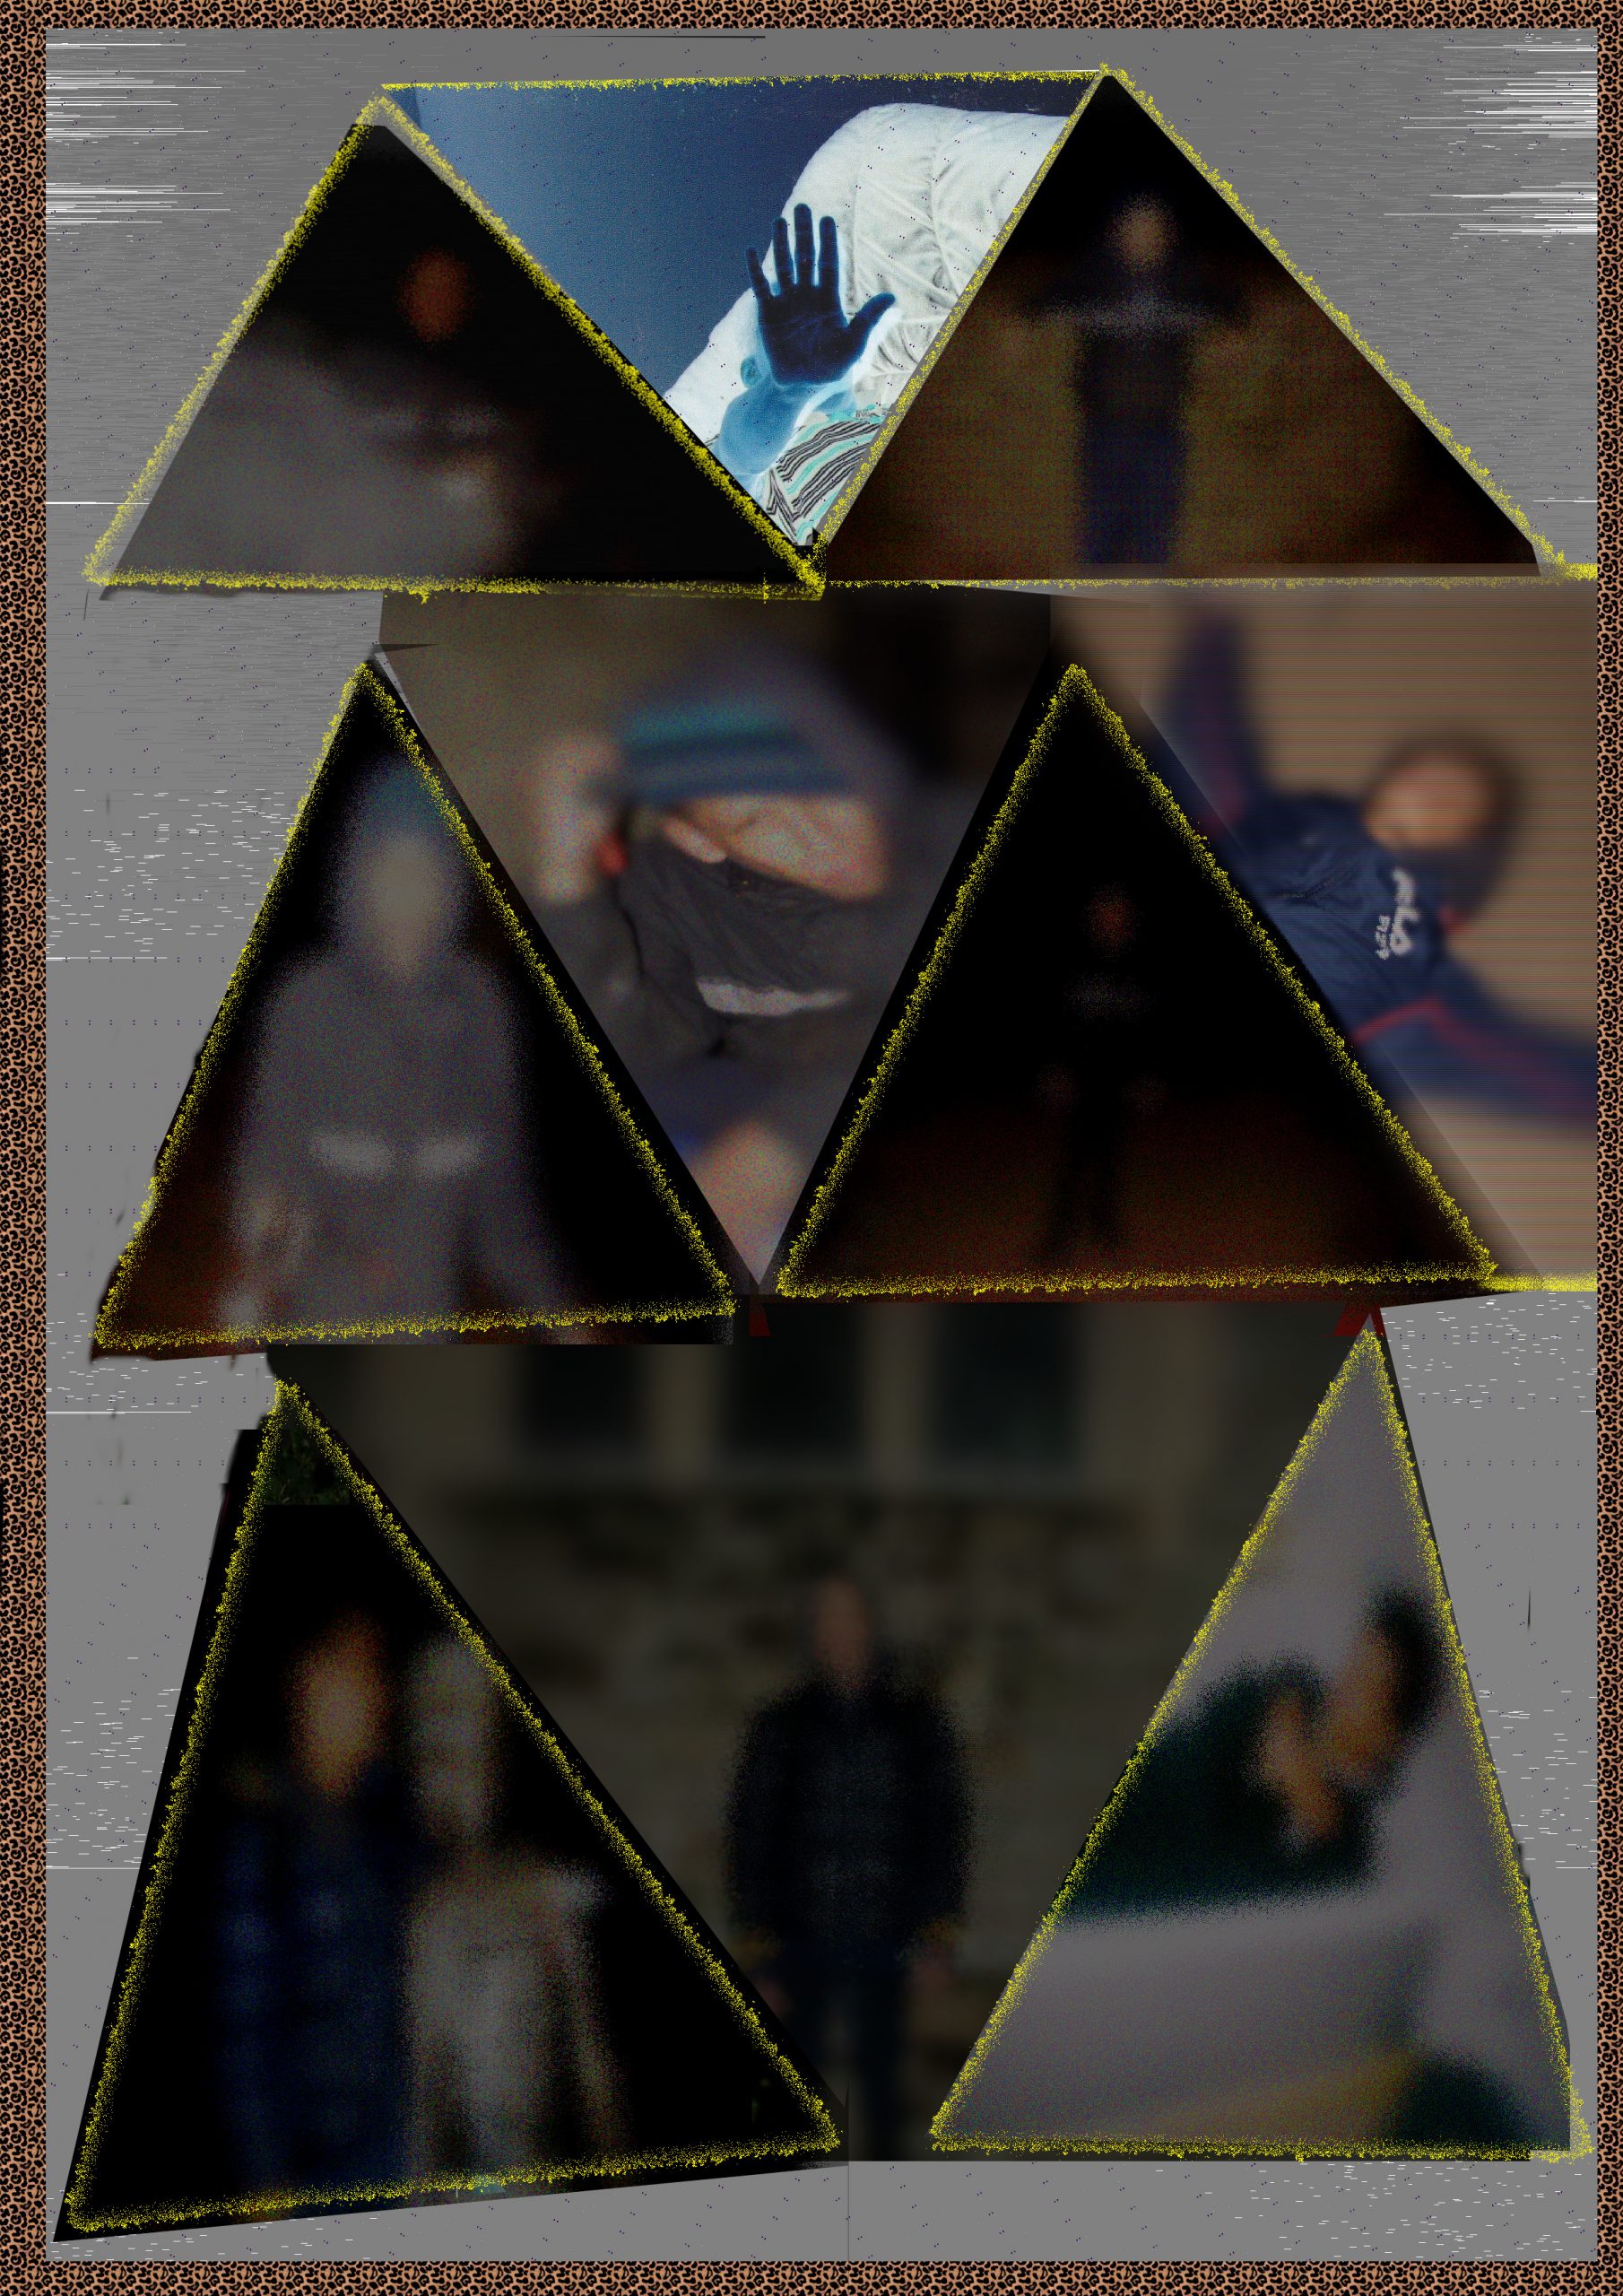
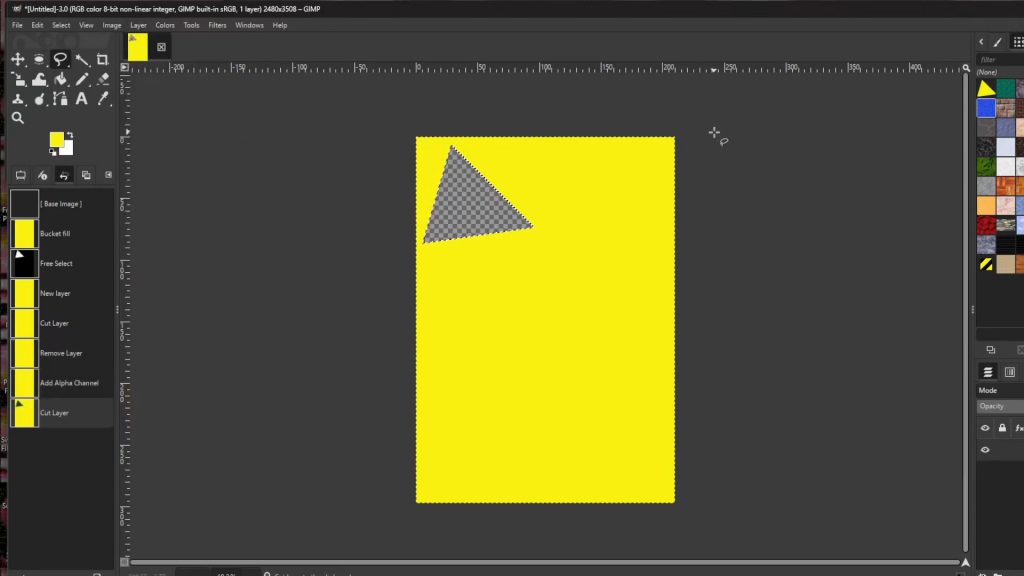
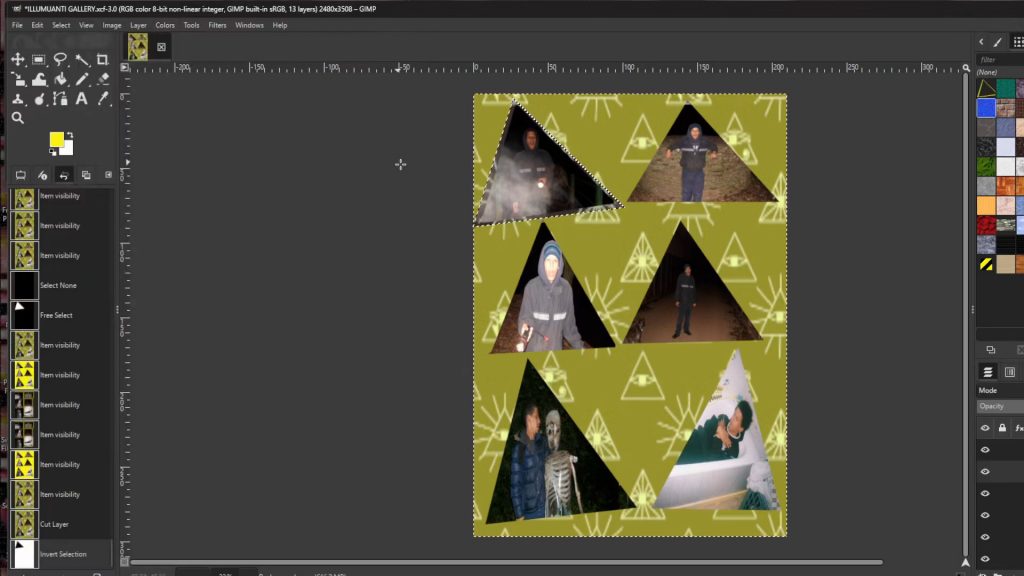
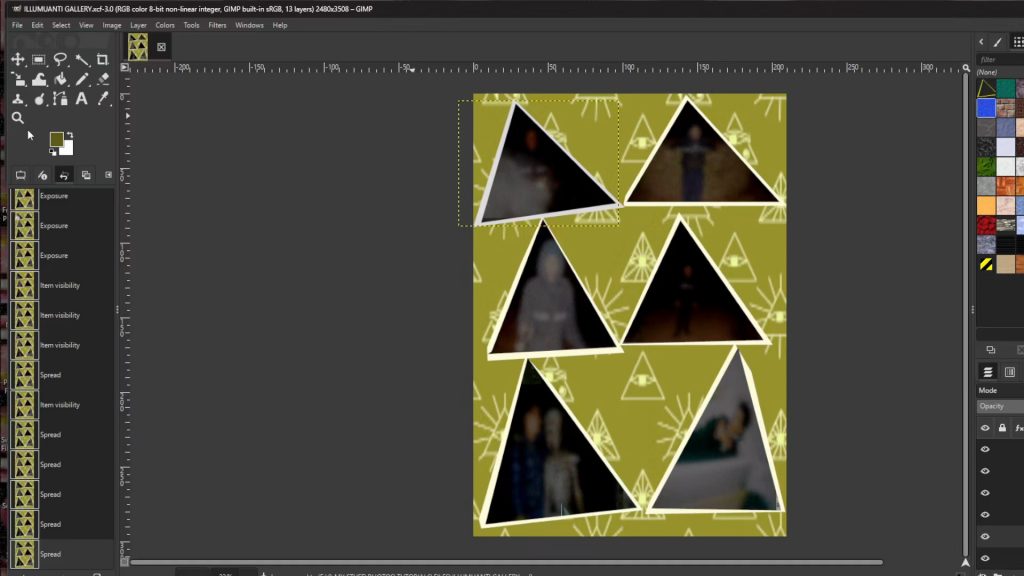
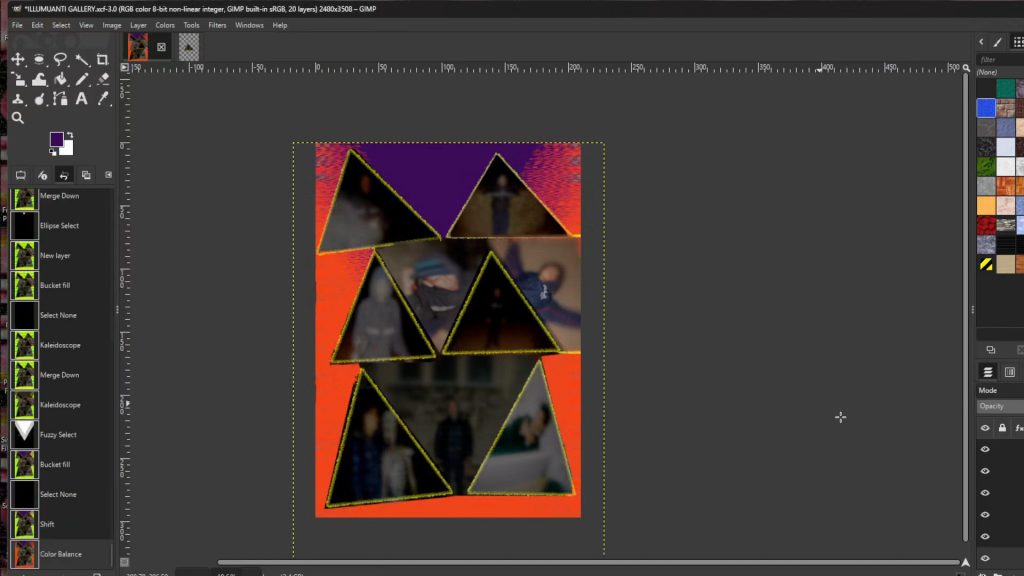
Chose a color for the background fill space using>>>THE BUCKET FILL TOOL and make a shape using>>>THE SELECTION TOOLS in the top menu under>>>TOOLS. You can make a circle, square rectangle or you can use>>> THE FREE SELECTION TOOL to make your own shapes like I did and to make a triangle.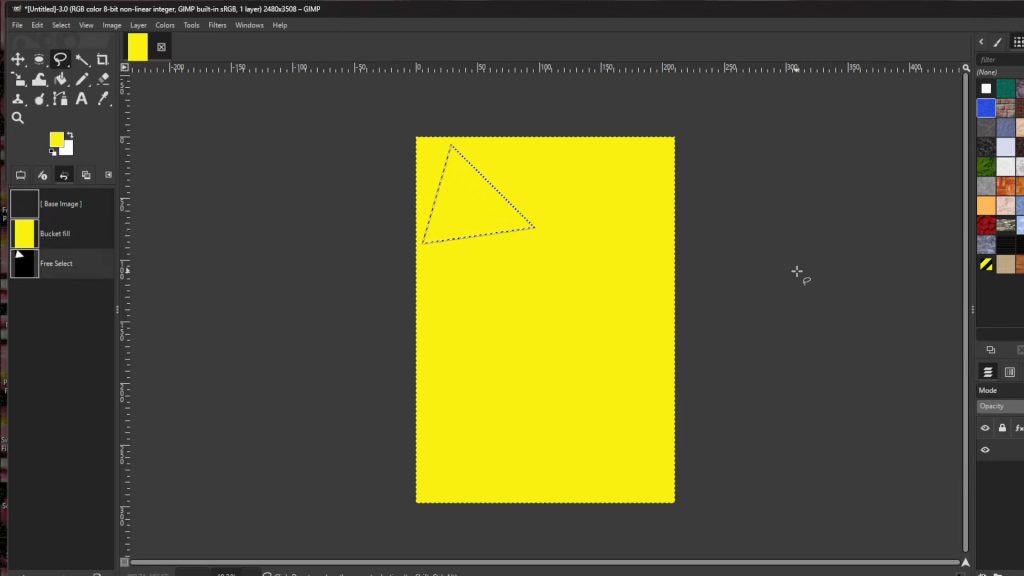
Go to>>>LAYER>>>TRANSPARENCY>>>ADD ALPHA CHANNEL. If it’s greyed out it’s been added and you can ignore this step.
With the background selected and with the shape highlighted>>> HOLD CONTROL AND PRESS X to remove the background leaving a transparent shape.
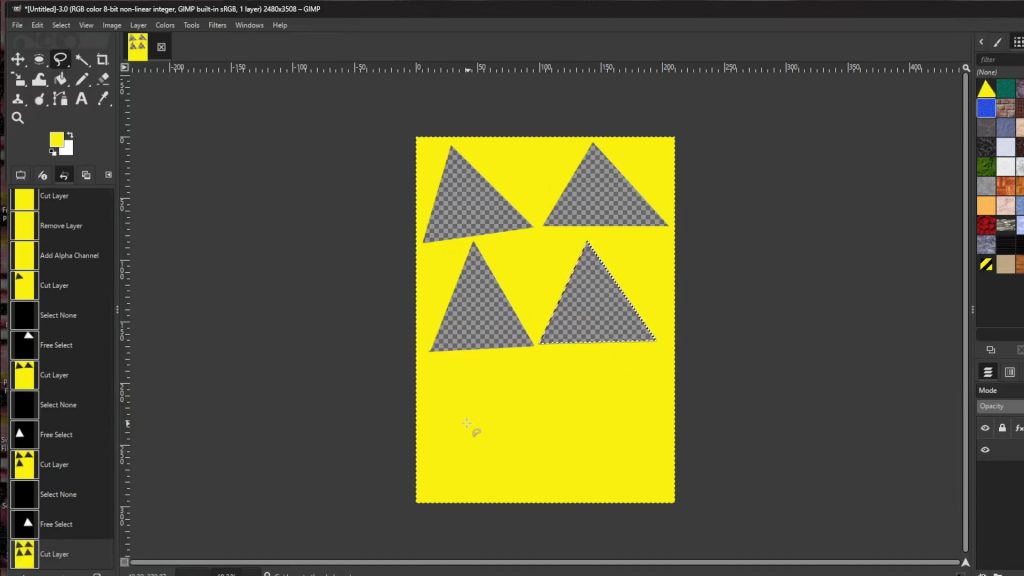
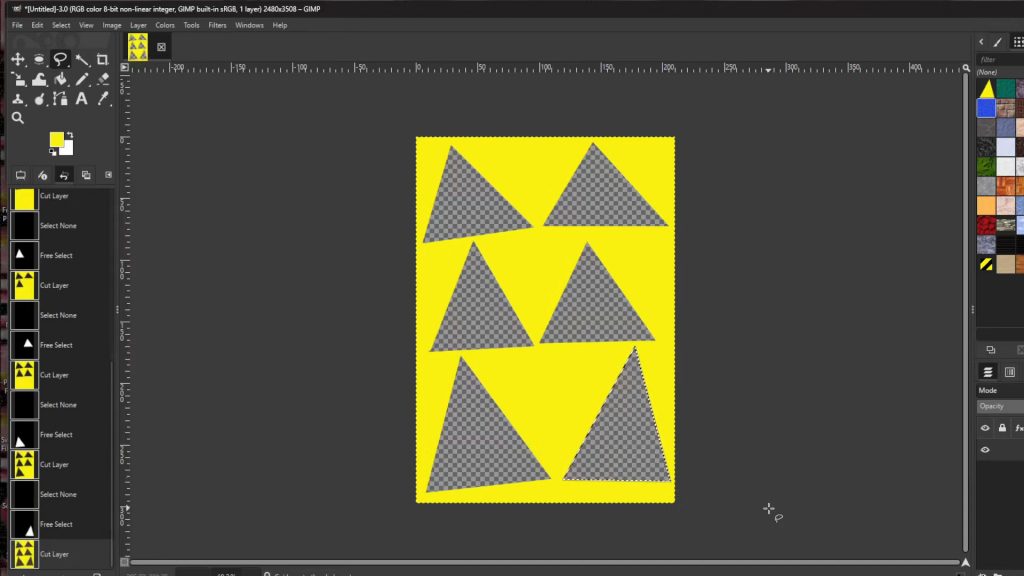
Repeat>>> STEP 2 AND 4 till you fill up the space. You’ve already colored the background so ignore that part in Step 2.
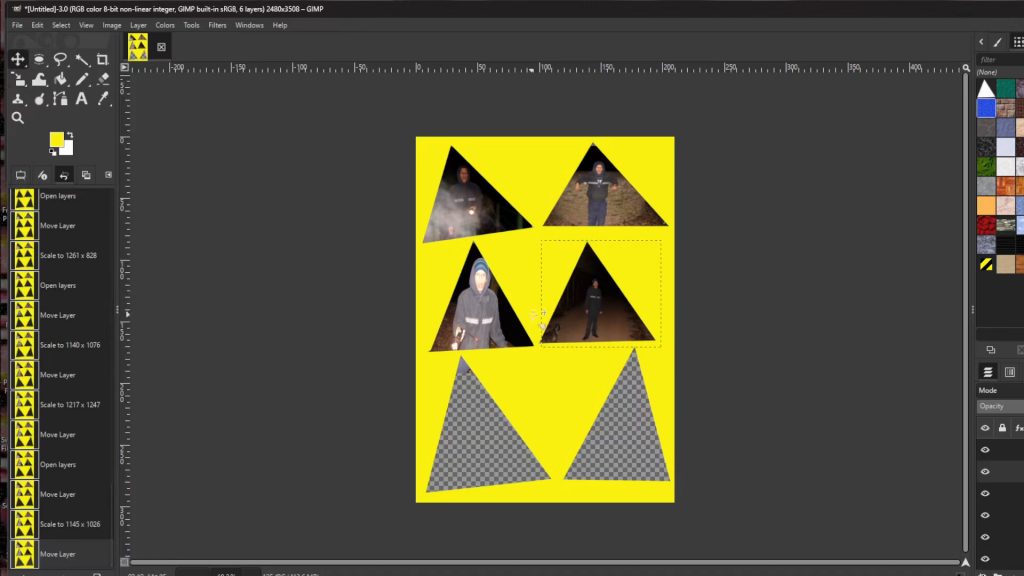
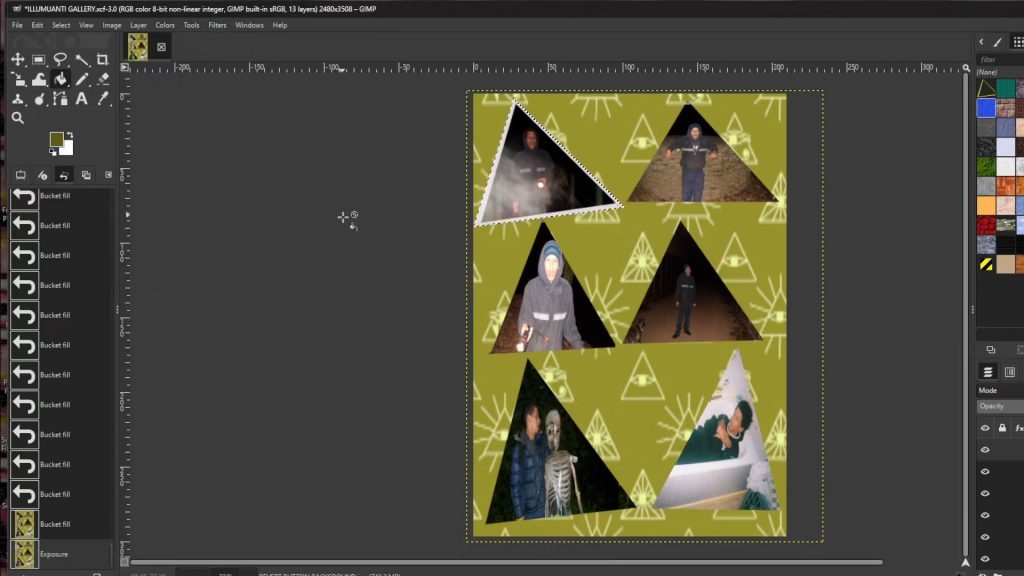
Now with the>>>BOTTOM LAYER SELECTED>>>OPEN a>>>FILE or>>>DRAG AND DROP FILE into Gimp and if not already>>>PLACE at the>>>BOTTOM of the>>>LAYERS in the>>>LAYERS PANEL so the image is behind the shapes.
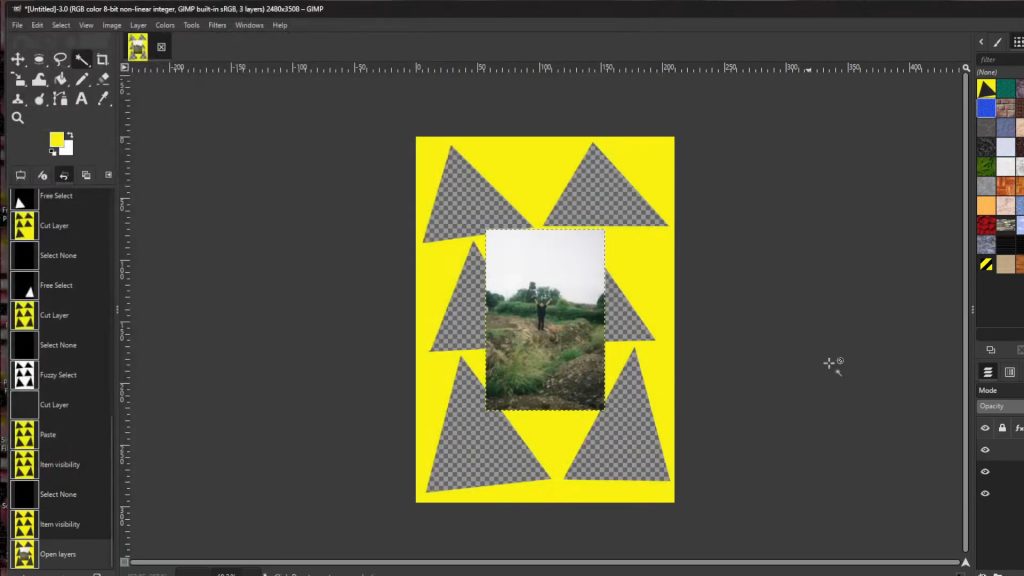
With the>>>IMAGE LAYER SELECTED you may need to use >>>THE RESIZE TOOL to>>>RESIZE the>>>IMAGE>>> CENTERING the>>>IMAGE to the>>>SHAPE you can use shortcut by>>>HOLDING>>>CTRL>>>and>>>PRESSING>>>R to get the resize options to come up.
Repeat >>>STEPS 6 AND 7 till you filled in all blank spaces with a image.

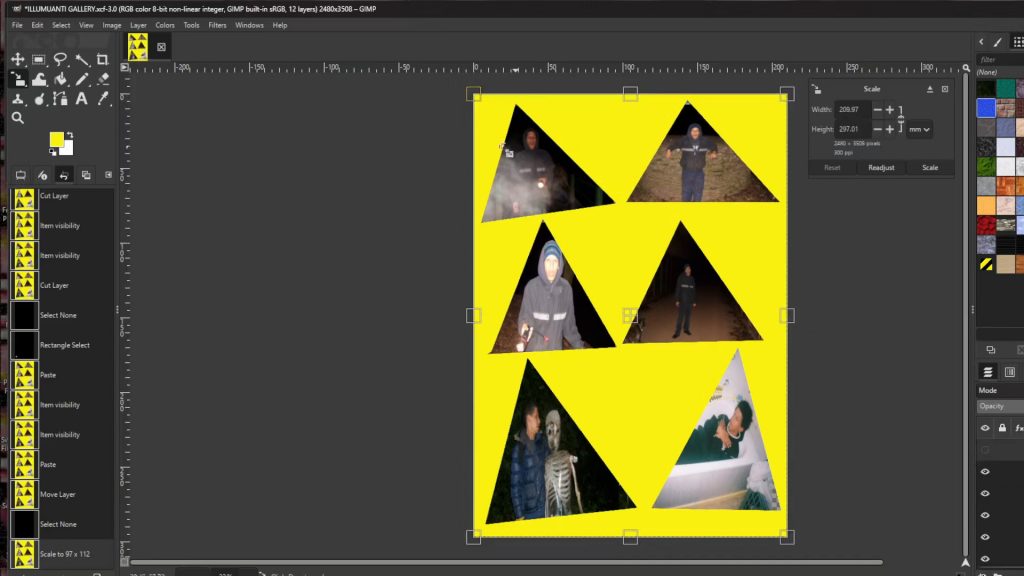
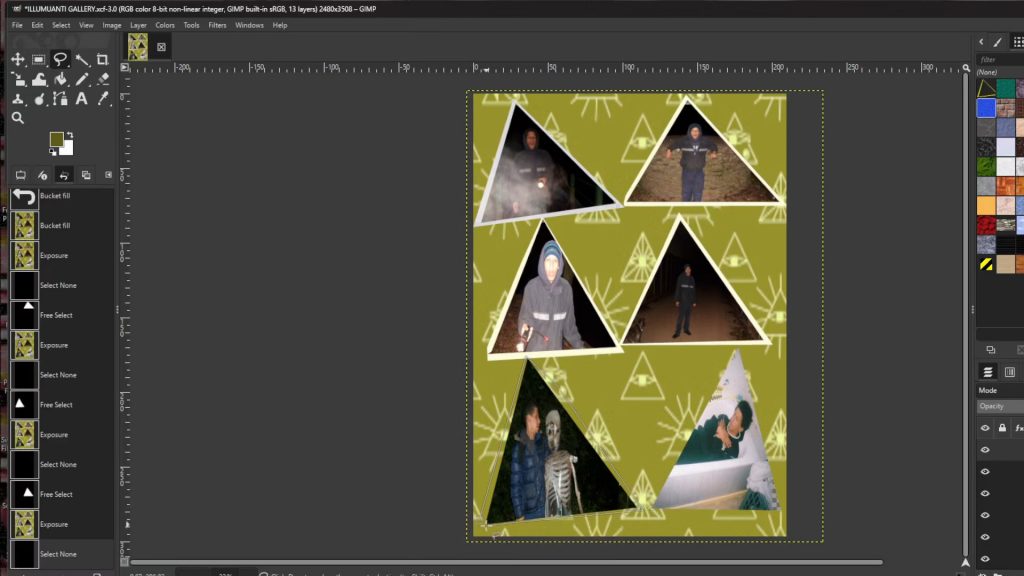
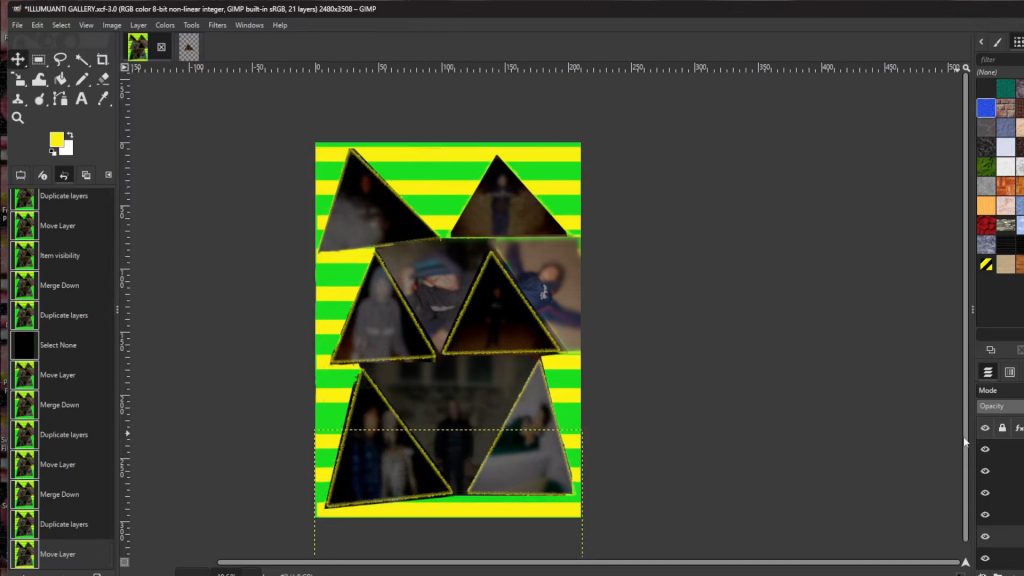
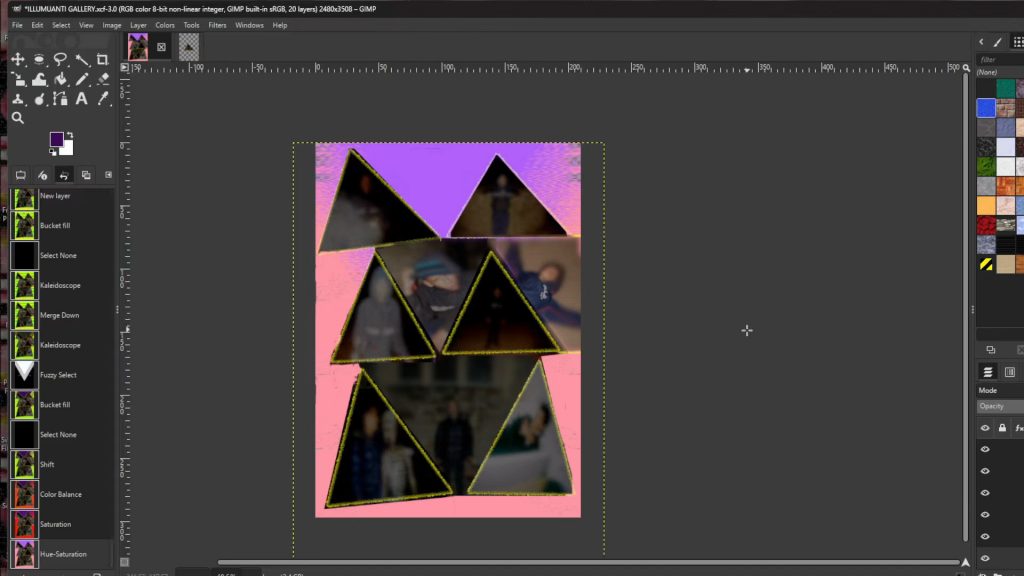
With>>>THE FREE SELECT TOOL and>>>THE BACKGROUND LAYER SELECTED draw a frame around the edges of the shape. You can move the points to straighten up the line once you’ve connected the dots.
With the shapes border highlighted and with the background layer highlighted>>>HOLD CONTROL AND PRESS X to remove the background of the border. Once that is done with the background layer selected and the border is highlighted with the free hand tool use>>>BUCKET FILL or EXPOSURE to fill in the border.
>>>REPEAT>>>STEPS 9 – 10 until you have all the images behind the frames making sure the>>>BACKGROUND is the>>>TOP LAYER>>>CUTTING any unwanted bits.

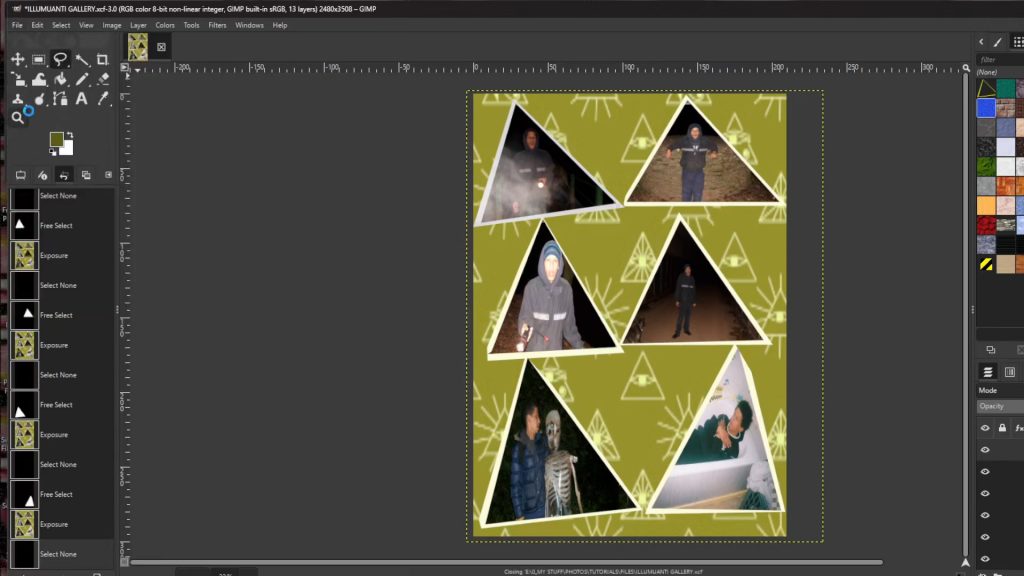
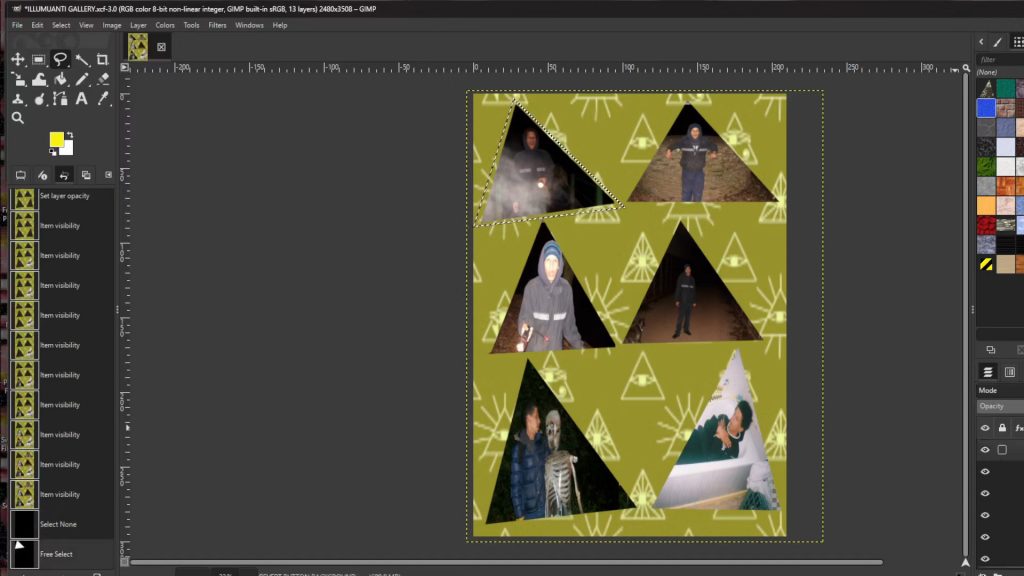
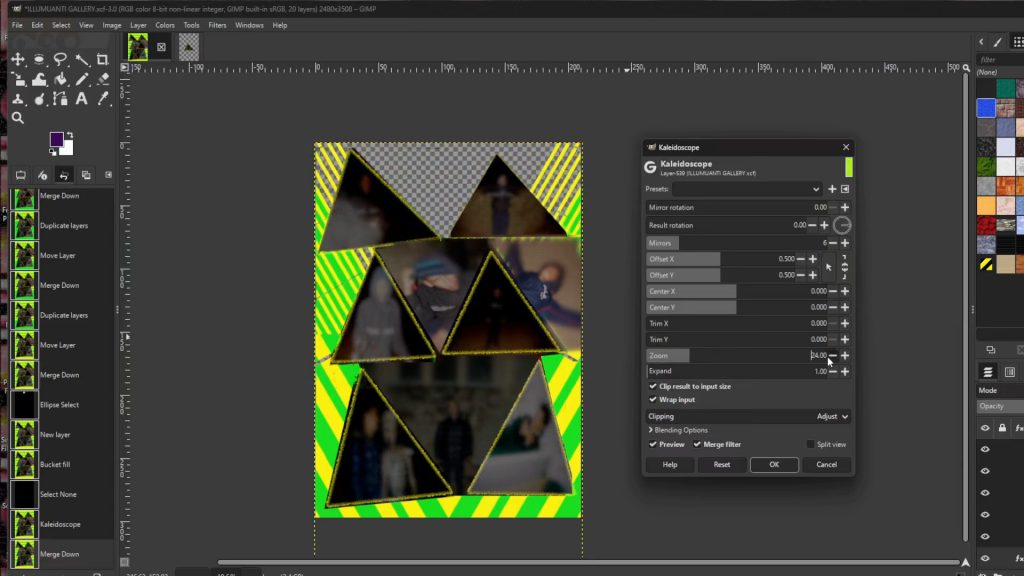
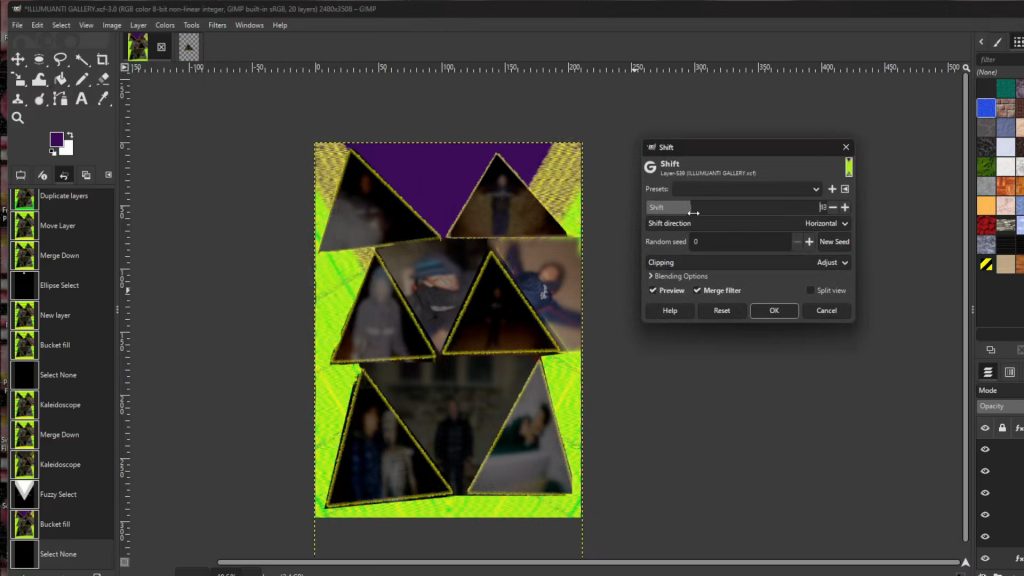
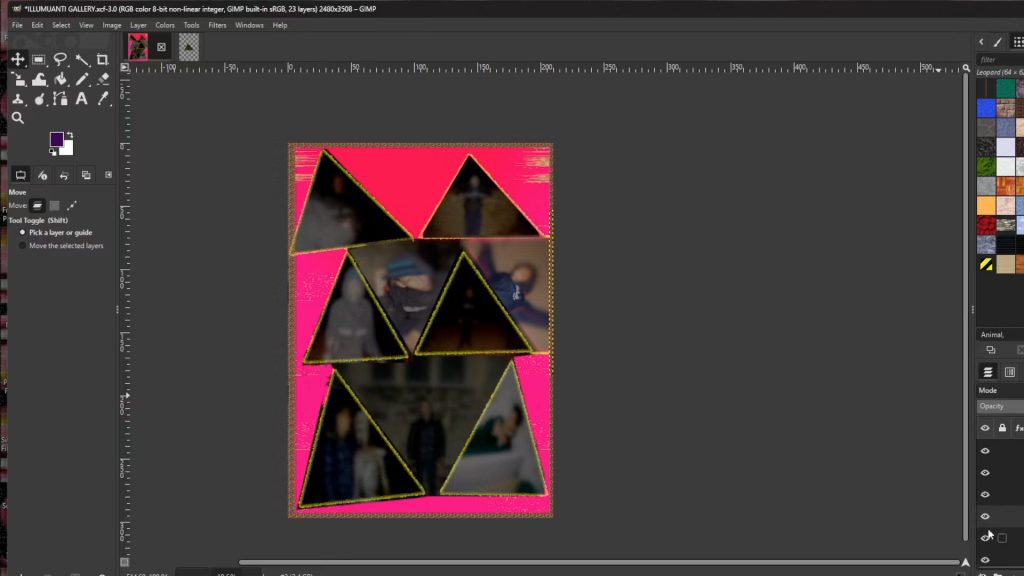
Mess about with>>>FILTERS AND COLORS in the menu on the top of the screen. I used>>>BLUR>>>VIDEO DEGRADATION>>> EXPOSURE and>>>NOISE for a more darker look and feel to the collage.
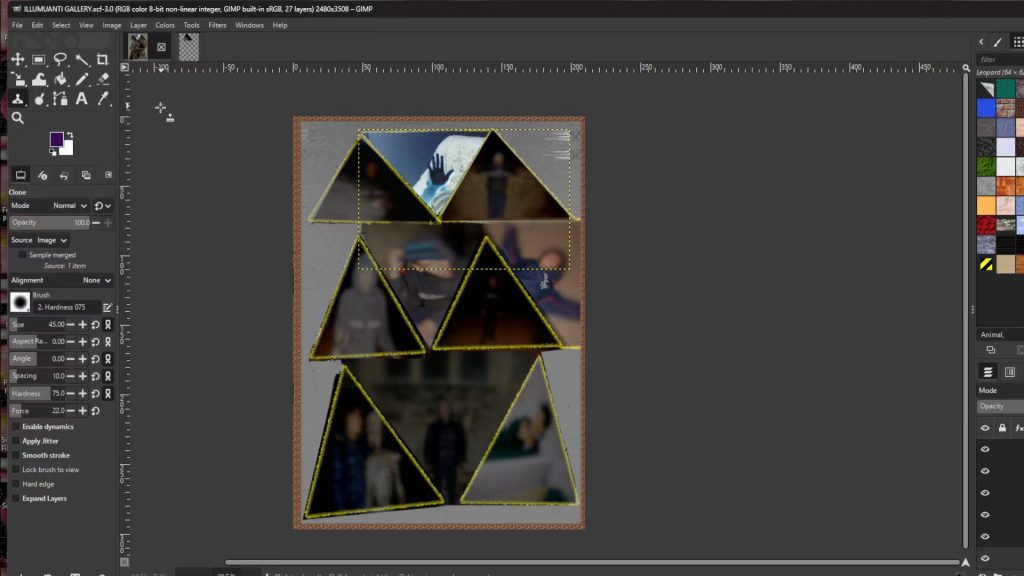
With the background layer selected mess about with the background using>>>COLORS AND>>>FILTERS and pictures if you want. I went for a green background with yellow stripes using>>>THE RECTANGLE SELECT AND>>>BUCKET FILL to fill it in yellow.

Export image by going to>>>FILE>>>EXPORT TO or>>>EXPORT AS and save with a JPG or PNG extension EG; COLLAGE__INSERT NUMBER.jpg or COLLAGE__INSERT NUMBER.png.